Keeping your WordPress website secure has become more important in this internet-driven world. One of the easiest ways to protect your site is by setting up SSL. If you’re running a WordPress site, mastering the WordPress SSL setup can make a huge difference. SSL (Secure Sockets Layer) encrypts the data transferred between your site and its visitors, keeping sensitive information safe from hackers.
Not only does SSL safeguard your data, but it also boosts your site’s trustworthiness. Visitors are more likely to feel confident when they see that little padlock icon in the browser’s address bar. Plus, Google favors secure sites, so having SSL can improve your search engine rankings.
Don’t worry if this sounds complicated. This guide will walk you through the process, step-by-step, making it easy to secure your WordPress site in just a few simple steps.
What is SSL?
SSL, or Secure Sockets Layer, is a technology that keeps your website’s data safe. When you set up SSL on your WordPress site, it encrypts the information sent between your site and your visitors. This means that sensitive data, like passwords or credit card details, is scrambled so that hackers can’t read it.
The purpose of SSL is to ensure that the data transferred remains private and secure. When someone visits your site, SSL establishes a secure connection instantly. It does this by using a process called encryption.
Here’s how it works: when a visitor’s browser connects to your site, the SSL certificate creates a secure link. This link encrypts the data, turning it into a code that only the intended recipient can understand.
Setting up SSL on your WordPress site not only protects your visitors’ data but also shows them that your site is trustworthy. It's a crucial step in building a secure online presence.
Benefits of SSL for Your WordPress Site
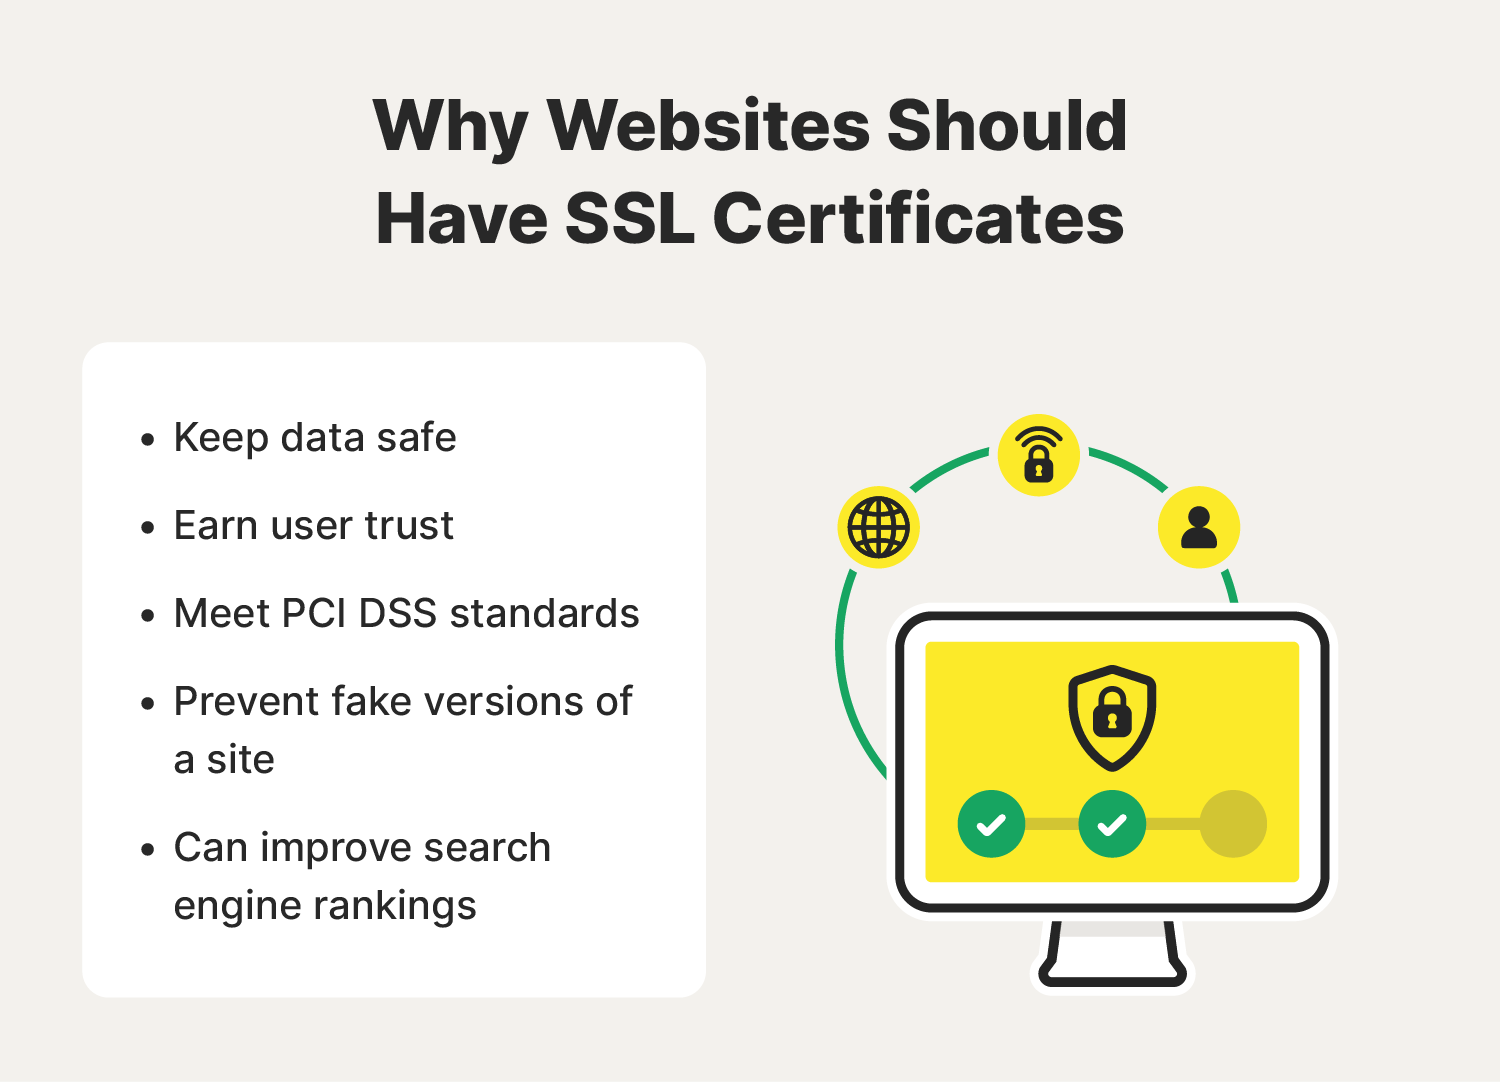
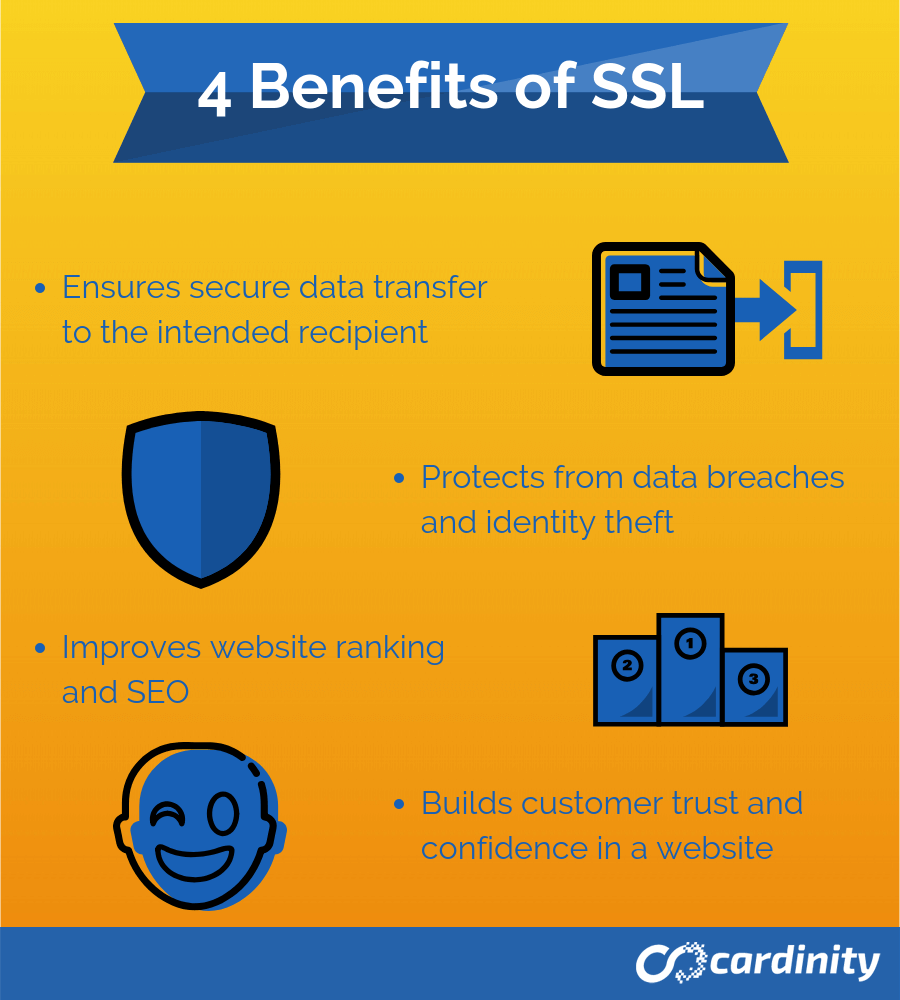
There are many benefits to setting up SSL for your WordPress site. First and foremost, SSL provides top-notch security and data protection. By encrypting the data exchanged between your site and its visitors, SSL keeps sensitive information safe from hackers. This is crucial if your site handles personal details, passwords, or payment information.
Another big advantage is the boost in trust and customer confidence. When visitors see the padlock icon in their browser's address bar, they know your site is secure. This little icon can make a big difference, encouraging more people to stay on your site and even make purchases.
Lastly, SSL is great for your SEO. Google gives a ranking boost to secure sites, so having SSL can help your site appear higher in search results. With WordPress SSL setup, you’re not only protecting your site but also making it more attractive to both visitors and search engines.
Steps for SSL Installation
Choosing an SSL Certificate
Choosing the right SSL certificate for your WordPress site is essential. There are three main types of SSL certificates and those are Domain Validated (DV), Extended Validation (EV), and Organization Validated (OV).
A Domain Validated (DV) certificate is the most basic type. It verifies that you own the domain, and it’s quick and easy to get. This is a good option for small websites or personal blogs.
Next, an Organization Validated (OV) certificate provides a higher level of security. It not only checks domain ownership but also verifies your organization’s identity. This type is ideal for business websites where customers need to know they’re dealing with a legitimate company.
Finally, the Extended Validation (EV) certificate offers the highest level of trust. It involves a rigorous validation process and displays a green address bar in browsers, showing visitors that your site is highly secure. This is perfect for e-commerce sites or any site handling sensitive information.
When setting up your WordPress SSL setup, consider your site’s needs and choose the certificate that best fits your requirements.
Purchasing an SSL Certificate
Purchasing and acquiring an SSL certificate is a key step in your WordPress SSL setup. First, you need to choose a reputable certificate authority (CA) to get your SSL certificate. Some well-known CAs include Comodo, DigiCert, and GlobalSign. These companies are trusted and offer reliable certificates.
You have two main options: paid and free SSL certificates. Free certificates, like those from Let’s Encrypt, are great for small websites or personal blogs. They provide basic encryption and are easy to set up. However, they may not offer the same level of support and warranty as paid options.
On the other hand, paid SSL certificates come with additional features like higher warranties, extended validation, and better customer support. These are ideal for businesses and e-commerce sites where trust and security are paramount.
Consider your site's needs and budget when choosing between free and paid SSL certificates. This will ensure your WordPress site is secure and trustworthy.
Installing SSL on your WordPress Website
Using Your Web Hosting Provider
Installing SSL on your WordPress site is easy when you use your web hosting provider. Many hosts offer free SSL certificates, often through Let’s Encrypt. First, check if your hosting provider includes free SSL in their packages. You can usually find this information on their website or by contacting their support team.
If your host offers free SSL, the next step is to activate it via your hosting control panel, like cPanel or your hosting dashboard. Log in to your hosting account and look for the SSL/TLS section. Here, you’ll find options to enable SSL for your site.
Simply follow the on-screen instructions to activate the certificate. It usually involves just a few clicks. Once activated, your site will start using HTTPS, making it secure.
This straightforward process makes the WordPress SSL setup hassle-free, helping you protect your site without needing technical expertise.
Manual SSL Installation
If your hosting provider doesn’t offer free SSL, you can manually install an SSL certificate for your WordPress SSL setup. First, you need to generate a Certificate Signing Request (CSR). This is a block of encoded text that your SSL provider will use to create your certificate.
To generate a CSR, log into your hosting control panel (like cPanel) and navigate to the SSL/TLS section. Here, you'll find an option to generate a new CSR. Fill in the required details, such as your domain name, organization name, and email address. Once complete, you’ll receive the CSR, which you’ll need to provide to your chosen Certificate Authority (CA).
After purchasing your SSL certificate and submitting the CSR to the CA, they will issue your SSL certificate. You’ll then need to install it on your server. Go back to your hosting control panel, find the SSL/TLS section, and look for an option to install an SSL certificate. Upload the certificate files provided by the CA, and follow any additional instructions to complete the installation.
By following these steps, you can ensure your WordPress site is secure with a manually installed SSL certificate.
Configuring WordPress for SSL
Update WordPress Settings
After installing your SSL certificate, the next step in your WordPress SSL setup is updating your WordPress settings to use HTTPS. This ensures that all traffic to your site is secure.
First, log into your WordPress dashboard. Navigate to Settings and then to General. Here, you’ll see two fields: WordPress Address (URL) and Site Address (URL). Both fields will currently show your website address starting with “http://”. You need to change these to “https://” to ensure your site uses the secure protocol.
Simply click into each field, add the "s" after "http", and then scroll down to save your changes. After making this change, your site will start using HTTPS for all pages and posts. This simple step is crucial for making sure your site is fully secure and takes advantage of your new SSL certificate. It’s an easy yet essential part of the WordPress SSL setup that ensures your visitors' data stays protected.
Using Plugins to Simplify the Process
Using plugins can greatly simplify your WordPress SSL setup. One highly recommended plugin is Really Simple SSL. This plugin automates much of the process, making it easy even for beginners to secure their site.
First, install and activate the Really Simple SSL plugin from the WordPress Plugin Repository. Once activated, the plugin will automatically detect your SSL certificate and guide you through the setup.
Here’s a step-by-step guide to configure the plugin:
- Activate the Plugin: After installation, go to your WordPress dashboard and navigate to Plugins > Installed Plugins. Find Really Simple SSL and click "Activate".
- Enable SSL: The plugin will show a prompt to enable SSL. Click on “Go ahead, activate SSL!”.
- Update Site Settings: The plugin will automatically update your WordPress Address and Site Address to use HTTPS.
- Fix Mixed Content Issues: Really Simple SSL handles most mixed content issues, ensuring that all elements on your site load securely.
By following these steps, you can effortlessly complete your WordPress SSL setup, ensuring your site is fully secure without any hassle. Take your website to the next level with powerful membership plugins! Explore our blog on the Top 10 Best WordPress Membership Plugins To Boost Your Website today.
Maintaining SSL on Your WordPress Website
Renew Your SSL Certificate
Maintaining your SSL certificate is crucial for keeping your WordPress site secure. SSL certificates need to be renewed before they expire to ensure your site remains protected.
Timely renewal is important because an expired certificate can make your site show warnings in visitors’ browsers, potentially scaring them away. To avoid this, check your SSL certificate’s expiration date regularly and start the renewal process ahead of time.
Many SSL providers offer auto-renewal options. This feature can automatically renew your certificate before it expires, saving you from the hassle of manual renewal. To enable auto-renewal, log into your SSL provider’s account and look for the auto-renewal settings.
By keeping your certificate up to date with auto-renewal, you’ll ensure your WordPress SSL setup stays secure and uninterrupted, providing ongoing protection for your visitors.
Conclusion
In conclusion, setting up SSL for your WordPress site is vital in ensuring your site’s security and building trust with your visitors. To recap, start by choosing the right SSL certificate, whether free or paid. Then, install the certificate through your hosting provider or manually if needed. Update your WordPress settings to use HTTPS, and consider using plugins like Really Simple SSL to simplify the process. Want to dive deeper into securing your WordPress site? Check out our blog on the 20 Best WordPress Security Best Practices and fortify your digital presence today!
Remember to keep your SSL certificate renewed and consider auto-renewal options to avoid interruptions. Regular updates and backups, along with monitoring for vulnerabilities, are also key to maintaining a secure site.
Prioritizing security isn’t just about protecting your data—it’s about providing a safe experience for your visitors and enhancing your site’s credibility. By following these steps, you’ll ensure a smooth and secure WordPress SSL setup, keeping your site protected and trustworthy.

