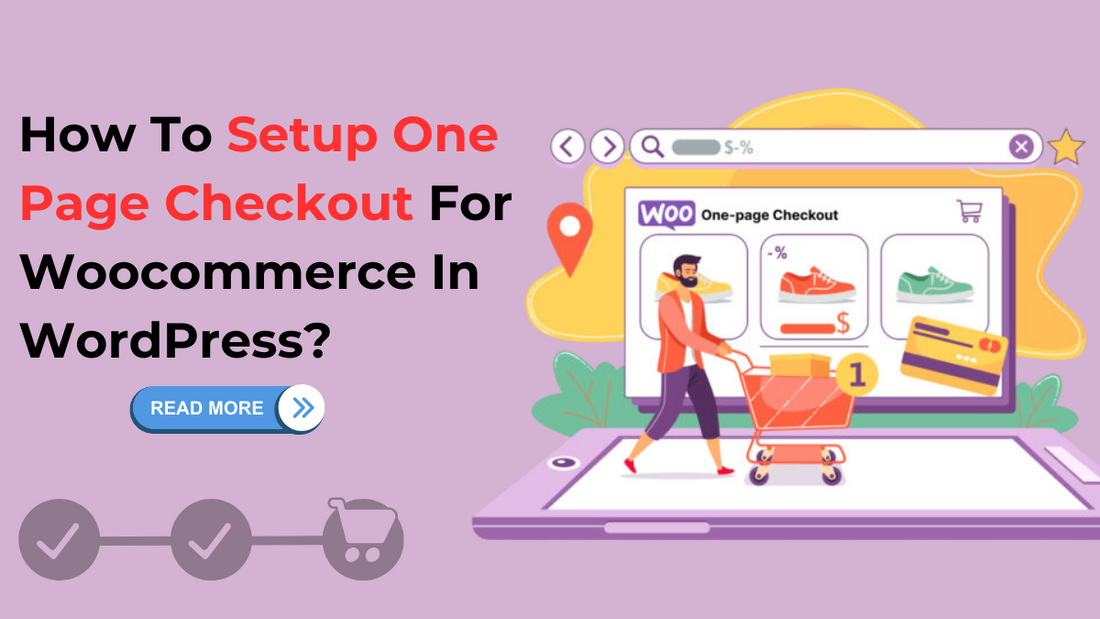
Setting up a one page checkout for WooCommerce store can make a big difference in how quickly customers complete their purchases. Instead of jumping between multiple pages, users can fill out all their details on a single page, making the process faster and easier. This not only improves the shopping experience but also helps reduce cart abandonment rates.
In this guide, we’ll demonstrate to you how to set up a one page checkout in WooCommerce so your customers can enjoy a smoother more efficient process. We’ll cover everything from choosing the right plugin to configuring your checkout page and testing it.
Whether you’re selling products or services, making this change can streamline your checkout process and increase your conversion rates. So, let’s get started and help you streamline your WooCommerce store with a one-page checkout setup!
What Is One Page Checkout In Woocommerce?

A product configurator for WooCommerce takes the shopping experience a step further by allowing customers to personalize products before checkout. Whether selecting colors, adding custom text, or choosing different features, a product configurator streamlines customization. When combined with one-page checkout, it creates a seamless and efficient purchasing journey, reducing cart abandonment and increasing conversions.
For eCommerce websites, one-page checkout is a valuable feature because it reduces friction during the buying process. With fewer steps, customers are more likely to complete their purchase, which helps lower cart abandonment rates.
Compared to the standard checkout process, which usually involves multiple pages and steps, one page checkout for Woocommerce is faster and more user-friendly. It simplifies things by putting everything customers need in one place, making it easier to convert visitors into buyers.
Prerequisites Before Setting Up One Page Checkout
Before setting up a one page checkout for WooCommerce, there are a few things you'll need to have in place. First, make sure you have a WordPress website with WooCommerce installed and active. This is the foundation for running an online store and is necessary for setting up a one page checkout.
Next, it's important to check that your theme and plugins are compatible with one-page checkout. Some themes might not support certain checkout plugins, so choosing one that works well with WooCommerce is essential. A free landing page WordPress theme can be a great option, as many of these themes are designed for high conversions and seamless user experiences. With built-in compatibility for one-page checkout, these themes make the setup process smoother while ensuring a visually appealing and efficient shopping experience.
Lastly, before making any major changes to your WooCommerce store, it's always a good idea to back up your website. This ensures that if anything goes wrong during setup, you can easily restore your site to its previous state without losing any important data.
Choose a One Page Checkout Plugin

Choosing the right plugin is a key step when setting up one page checkout for WooCommerce. Luckily, there are several popular plugins that make this process simple. Some well-known options include WooCommerce One Page Checkout, CartFlows, and Direct Checkout for WooCommerce. Each of these plugins allows you to create a streamlined, user-friendly checkout experience, but it’s important to choose the one that best fits your needs.
When selecting a plugin, consider factors like ease of use, features, and pricing. For example, if you’re new to WordPress, a plugin with an intuitive interface, like CartFlows, might be best for you. Also, think about the features you need do you want customizable checkout fields or built-in upsell options? Lastly, make sure to check the pricing, as some plugins offer more features in their premium versions.
Once you’ve chosen your plugin, installing it is easy. Head to your WordPress dashboard, navigate to Plugins>Add New, search for your selected plugin, then install and activate it. After activation, follow the setup instructions to configure your one-page checkout. Choosing one of the best WordPress templates can further enhance your checkout experience by providing a clean, fast, and user-friendly design that seamlessly integrates with your WooCommerce setup.
Configure One Page Checkout Plugin
Configuring your one page checkout for WooCommerce is a straightforward process once you've installed the right plugin. To create a one-page checkout page, start by navigating to your plugin's settings in the WordPress dashboard. Most plugins offer a simple way to generate a one-page checkout page with just a few clicks. You'll often find pre-built templates or an option to add the checkout directly to an existing page.
Next, you'll want to add the necessary checkout fields, like billing, shipping, and payment information. These fields are typically customizable, so you can decide what information is required from your customers. For example, you might want to enable express options like auto-filling address fields.
Customizing the layout and design is also important to ensure the page fits your brand's style. Many plugins allow you to change the colors, fonts, and overall structure to match your theme.
Finally, to optimize the user experience, configure settings like enabling guest checkout and adjusting form fields. Allowing guest checkout makes it easier for customers to complete their purchases without creating an account, which can boost conversions. Adjusting the form fields can also help streamline the process by removing unnecessary steps.
By following these steps, you'll have a fully functional one page checkout for WooCommerce, offering a quick and smooth shopping experience for your customers.
Testing and Troubleshooting
Before making your one-page checkout for WooCommerce live, it’s essential to thoroughly test the process. Testing ensures that everything works smoothly, from adding products to completing the purchase. This helps avoid customer frustration and potential lost sales.
Start by checking the functionality of the checkout. Go through the entire process as a customer would: add items to the cart, fill out the checkout form, and complete the payment. Make sure all the fields work properly, the payment gateway processes transactions and the confirmation page displays correctly. Also, test responsiveness on different devices. Since many customers shop on mobile, it’s crucial to ensure the checkout looks good and functions well on both mobile and desktop.
During testing, you might encounter common issues like plugin conflicts, where two plugins don’t work well together. If this happens, try deactivating other plugins one by one to identify the conflict. You might also run into form errors, such as required fields not working properly. These can usually be fixed by reviewing your plugin’s settings and ensuring everything is correctly configured.
Testing and troubleshooting are key steps to ensuring your one-page checkout works flawlessly, giving customers a seamless shopping experience and boosting your conversion rates.
Enhance User Experience with Additional Features
To enhance the user experience with a one page checkout for WooCommerce, consider adding a few extra features to streamline the process and boost sales. One great option is to include upsells and cross-sells directly on the checkout page. This allows you to suggest related or higher-end products that customers might find useful, increasing the value of each transaction.
Another helpful feature is offering one-click payment options, like PayPal or Stripe. These services make it easy for customers to complete their purchases quickly without needing to fill out lengthy payment forms.
Finally, you can integrate real-time validation into your checkout form. This feature checks the accuracy of the information as it’s entered, reducing errors and speeding up the process. Customers will appreciate not having to go back and correct mistakes after hitting "submit."
By adding these features, you’ll create a smoother and more engaging shopping experience, encouraging customers to complete their purchases and boosting your store’s sales.
Conclusion
In conclusion, setting up a one page checkout for WooCommerce can greatly improve your customers' shopping experience. By allowing them to complete the entire purchase process on a single page, you make it faster and easier for them to buy, which reduces cart abandonment and increases conversions.
With features like customizable fields, one-click payments, and real-time validation, you can tailor the checkout process to your customers' needs, creating a smoother and more efficient flow. Plus, integrating upsells and cross-sells directly on the checkout page helps increase your average order value. Choosing a WordPress theme bundle that supports these features ensures your store remains visually appealing and highly functional, providing a seamless shopping experience while maximizing revenue opportunities.
Overall, a one page checkout is a simple but powerful feature that streamlines the purchasing process, making it a must-have for any WooCommerce store looking to enhance the customer experience and increase sales.